Fact: unless you are an accountant, financial planning and budgeting is the absolute worst. For years, my adorable husband tried to get me to participate in his monthly budgeting snooze-fest in the hopes that I would actually stick to it. Needless to say, month after month, hubby dearest was sorely disappointed. Then one day, we made the decision to do a “total money makeover” a la financial guru Dave Ramsey. One of Ramsey’s rules is to PLAN a monthly budget meeting and make a PLAN together with your significant other. Hold the phone! Did someone say the magic word?! Suddenly and without warning, the ideas started flowing. A financial planner! A monthly financial planner! I immediately ran to the computer and purchased myself a Limelife Monthly Planner!

I know what you’re thinking, impulse buys are a huge no-no during a money makeover, and that is very true, but this is for the greater good of financial freedom, right? Right. I love my new monthly planner so much, that I just had to share the simple, yet brilliant system that keeps our finances organized, keeps our budget on track, and maybe most importantly, keeps my attention and involvement! I will take you through my monthly financial planner and how I use it section by section.

1. Front Section
In the front of my monthly planner is the optional coiled-in envelope. I use this to keep important receipts and paper statements/bills. Always a good idea!
I use the “Logins and Passwords” pages for online banking and credit card account info. Since I know that this planner will never leave my house, I know that my info is safe, but if you’ll be carrying your financial planner around with you, I highly suggest leaving any personal and confidential information out!
Next is the goals page. I use this page to write out our financial goals for the year. It is a running list because as some goals are reached, others tend to appear. I like that there is a space for me to write the date that we reach each goal so that we have something to look back on and be proud of. You can also use this space for the date by which you want a particular goal to be reached. My goals so far include paying off specific credit cards, saving $1000 in our emergency fund, and reaching $1000 in our family savings account. The next few pages are for monthly lists and reminders.

Here, I put events that I know we will need money for in a particular month. For example, in August, it is my husband’s and my 10th anniversary. We are taking a family vacation to the lake house for a week, and my cousin is getting married. Before we write our budget for August, we will check that section and plan for those events, accordingly. The last pages are for contacts. Here, I have the contact information of our banks, lenders, creditors, insurance providers, and utility companies.
2. Monthly Sections
In the front of each month’s section, there is a notes page. This is where we write out our entire budget every month for easy reference.

I like to use Frixion pens for our budget so that we can tweak it, as needed. I buy mine on Amazon, but I know that some people have been able to find them at Walmart.
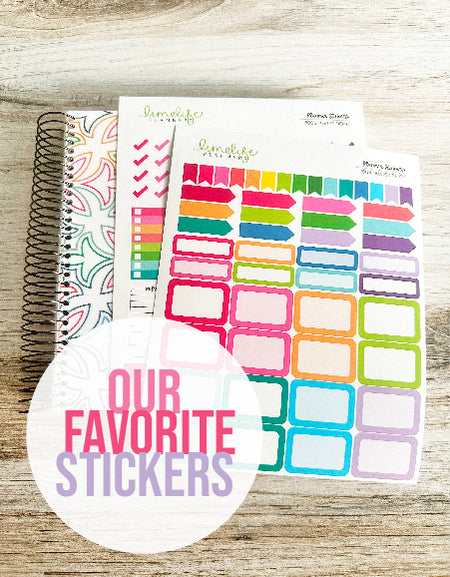
In the monthly spread, I put when all of our bills are due and when we get paid. Since I am a total sticker addict, I naturally had to make a totally adorable icon sticker set for this purpose. In fact, I actually made the stickers before my planner even arrived!

I ended up loving the set so much that I decided to offer them in my sticker shop, Three Little Birds Studio (3lbstudio.etsy.com). The set is color-coded to make planning that much easier (and prettier, too!).

3. Finances Add-On Section
I chose to add a finances section at the end as a finishing touch to my monthly financial planner. It has a page for you to write out a master budget in the front, a debt worksheet (very useful if you are, or plan on doing, a debt snowball), two pages of check registers, and twelve monthly finance pages to keep your bill and finance records all in one neat and tidy place. This really comes in handy during monthly budget meetings when you may need to refer to previous months.

And that about sums it up! I hope you found this helpful and inspirational to your own financial planning! Happy planning, Limelifers!
This guest blog post was written by Emily Taaffe of Three Little Birds Studio. For more information about Emily visit her store at 3lbstudio.etsy.com. Please share and repost this blog entry with your friends! All we ask is that you give credit to Limelife Planners and the post author.


Comments